Understanding WordPress Footers
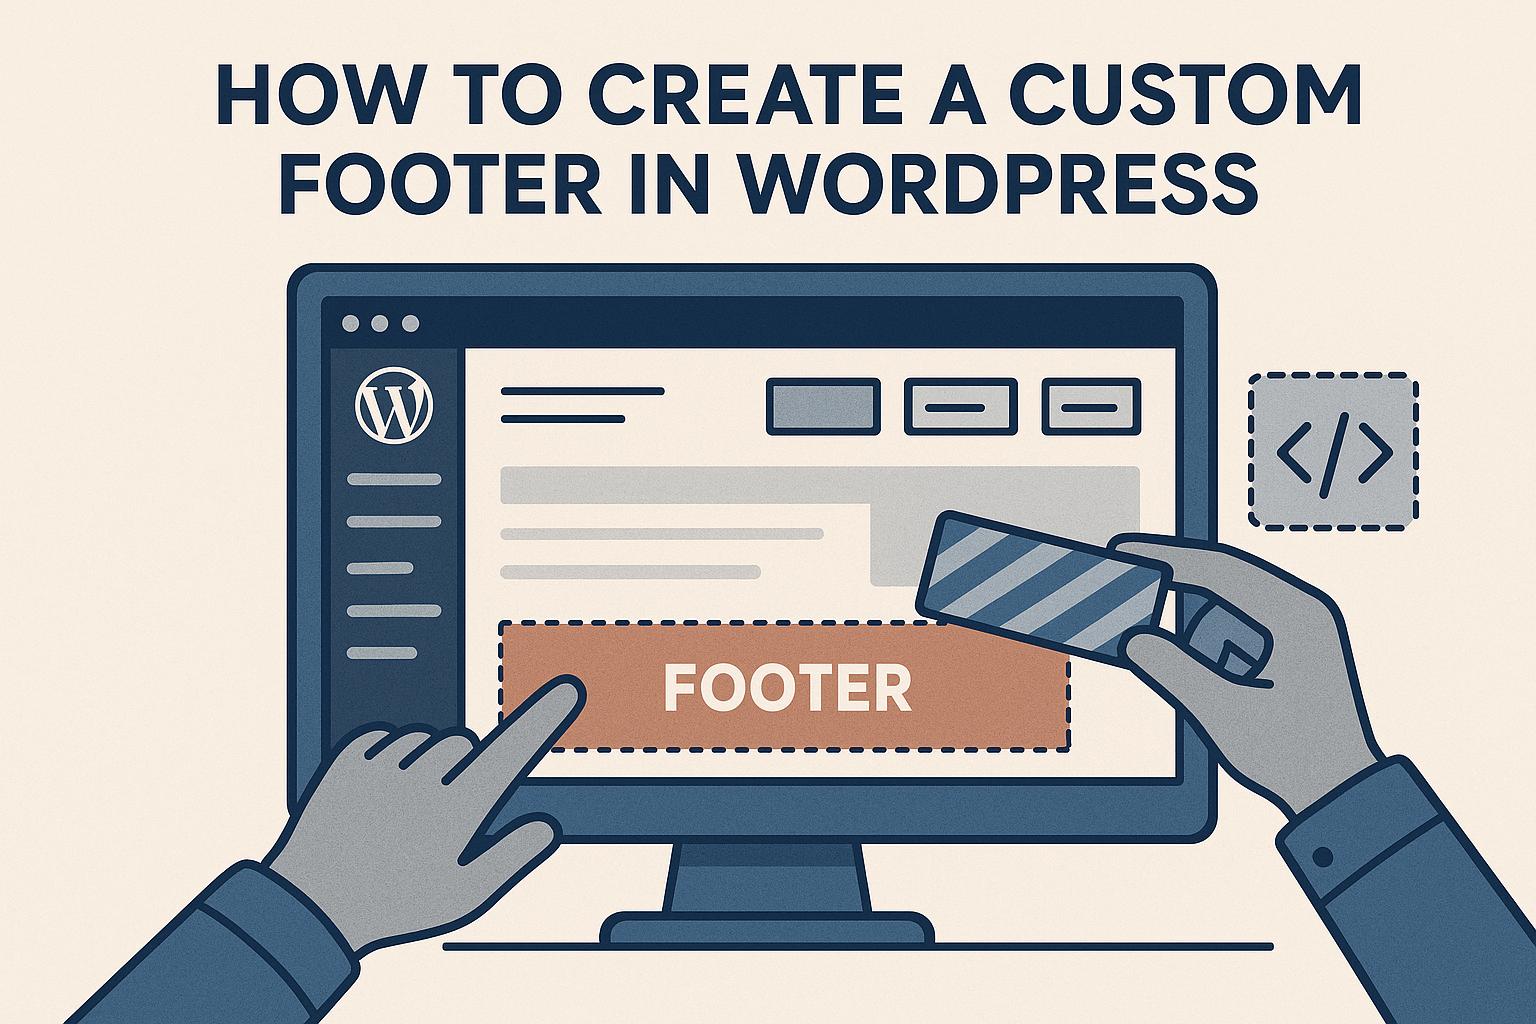
The footer is an integral part of any website, offering a place for additional information, navigation, and sometimes promotion. In WordPress, the footer can be customized to reflect your brand identity and enhance the user experience. By carefully customizing the footer, it can serve not only as an aesthetic complement to the rest of your website but also as a functional component that aids in navigation and provides valuable information to visitors.
Accessing the Theme Customizer
To begin customizing your footer in WordPress, it is essential to know how to access the theme customizer. Start by navigating to the WordPress Dashboard. This can be considered the central hub for managing your WordPress site. Once there, look for the Appearance menu located in the sidebar. Upon clicking Appearance, you will see various options, one of which is labeled Customize. Selecting Customize will direct you to the theme customizer interface. This interface provides a user-friendly environment for altering various elements of your site without directly editing code.
Modifying Footer Settings
Once inside the theme customizer, the next step is to find the section dedicated to footer customization. This section is commonly labeled as Footer or Footer Settings. Depending on the theme you are using, you will come across various options for modification. These options may range from altering text and colors to changing the layout of the footer itself. While some themes provide basic customization capabilities, others might offer extensive styling options.
Adding Custom Text and Widgets
A common customization requirement is the addition of custom text or widgets within the footer area, which can be easily achieved through the customizer. Look for an option within the footer settings labeled Widgets or Text. This functionality allows you to either enter custom text directly or choose from a selection of pre-defined widgets to display. Widgets can include elements like recent posts, search bars, or even custom HTML code, thereby providing a dynamic approach to footer content.
Using the WordPress Customizer to Edit Style
Styling is another critical aspect of footer customization. Some themes come equipped with robust styling options that can be accessed through the customizer without the need to write any code. These style settings are typically found under a section labeled Footer Style. Options here may include modifying the background color, adjusting font size, and altering link styles. Such customization capabilities allow you to harmonize the footer design with your overall site aesthetic.
Incorporating Custom Code
For users who have a decent grasp of coding, additional customization opportunities await via custom CSS or HTML. Within the theme customizer, there is an option labeled Additional CSS. By selecting this option, you can add your custom CSS styles, which is especially useful if the built-in styling options are too restrictive for your needs. Additionally, custom HTML can be incorporated into widget areas for more complex design requirements.
Edit Footer.php File
Beyond using the customizer, you have the option of directly editing the footer.php file, which is the template file responsible for the display of the footer section. To access this file, navigate to Appearance in the WordPress Dashboard and then click on Theme File Editor. It is important to create a child theme before making any changes to avoid losing your modifications during theme updates. By editing the footer.php file, more granular and precise changes can be made.
Using a Page Builder Plugin
In situations where your theme’s customization options are limited, a page builder plugin can prove invaluable. Popular plugins such as Elementor or Beaver Builder offer drag-and-drop functionality and are compatible with most themes. You can leverage these plugins to design a unique footer by incorporating elements like social media icons, custom menus, and contact information. By utilizing a page builder, you have greater flexibility in creating a footer that is tailored to your exact specifications.
Implementing Social Media and Contact Information
Adding social media links and contact information to the footer can enhance user engagement and provide essential data. This can be achieved by either adding HTML snippets directly into your footer settings or using a specialized widget or plugin designed for displaying social media links and contact information. Embedding these elements within the footer ensures they are easily accessible to visitors, encouraging interaction.
Testing and Publishing
Following the completion of footer customizations, it is crucial to test your changes to ensure everything appears correctly across various devices and browsers. The theme customizer offers a preview function that allows you to see how your site will look before the changes are made live. Testing ensures that your design choices do not adversely affect usability. Once you are satisfied with the appearance and functionality of your footer, click the Publish button within the customizer to save your changes and make them live on your website.
Conclusion
Customizing the WordPress footer is a critical step in improving both the functionality and design of your website. By utilizing the built-in theme customizer, editing theme files, or employing a page builder plugin, you can create a footer that not only aligns with your brand’s vision but also enhances user engagement. Whether it involves adding navigation links, social media icons, or contact information, each element contributes to making your website both appealing and user-friendly. The ultimate goal is to blend form and function seamlessly to provide a cohesive user experience.