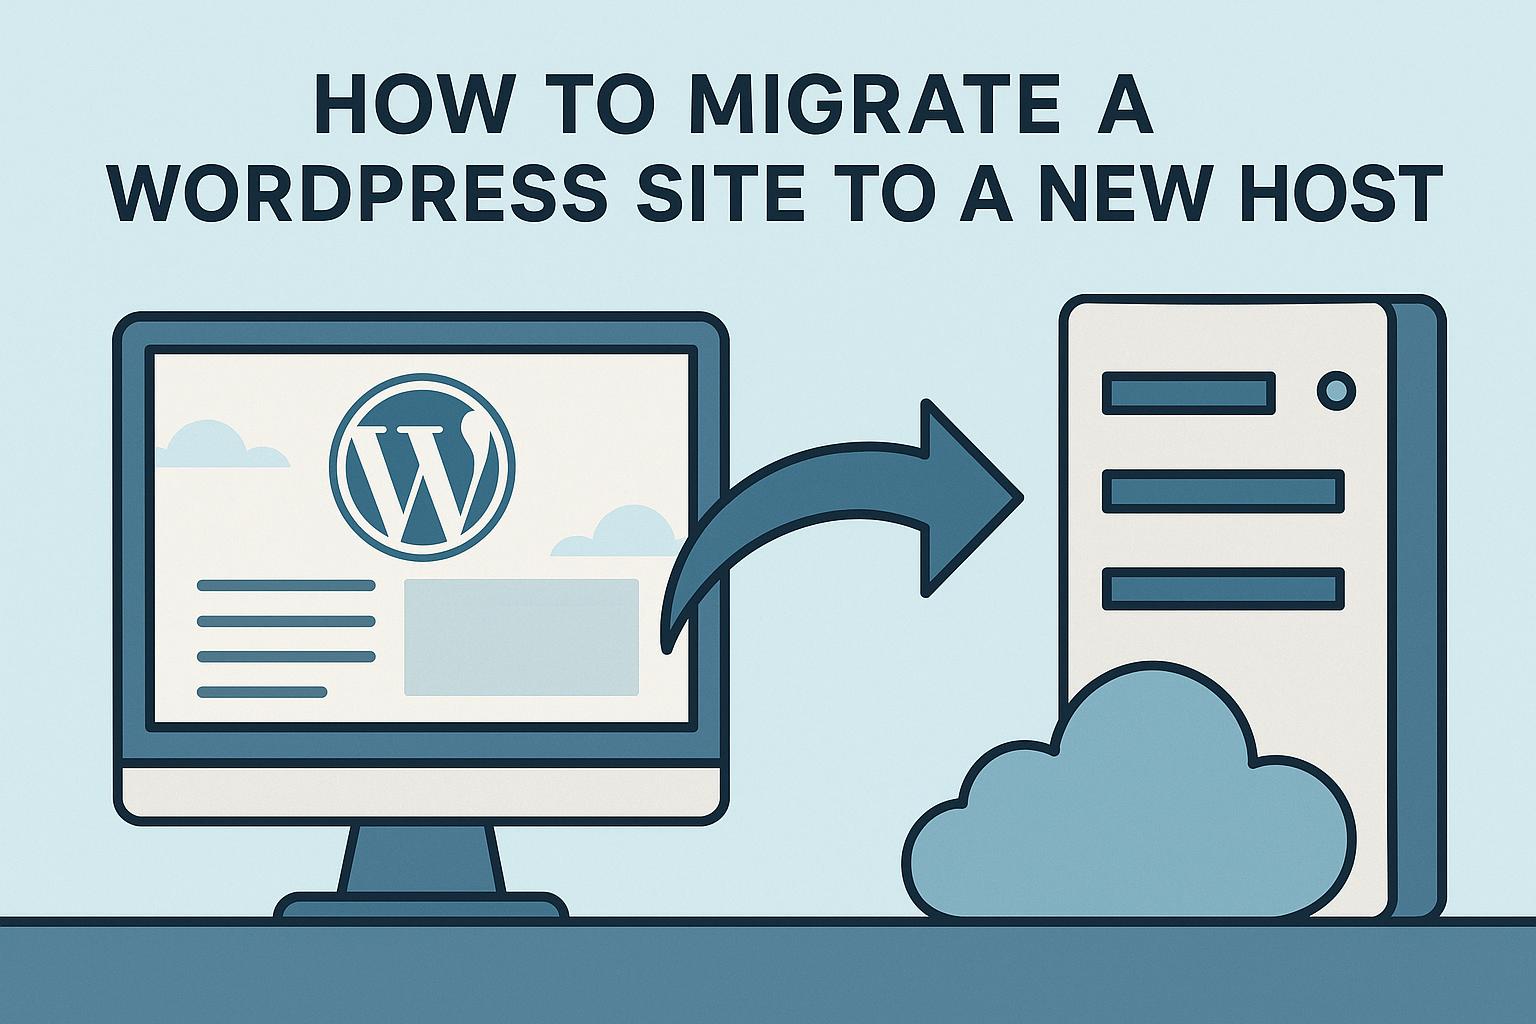
Understanding the Basics of WordPress Site Migration
Migrating a WordPress site to a new host is an intricate task that requires careful planning and execution. This process is crucial to ensure that your website’s files, databases, and overall functionality remain intact after the transition to a new hosting environment. By following a structured approach—copying over files, exporting and importing databases, updating configurations, and conducting thorough testing—you can achieve a seamless migration without significant downtime or data loss.
Pre-Migration Preparations
Prior to embarking on the migration journey, a few preliminary steps are imperative to set the stage for a successful transfer. Choosing a reliable new host is paramount. Conduct thorough research on various hosting providers, evaluating aspects like server specifications, support quality, security features, and pricing. Your website’s needs—be it high traffic, specific software requirements, or enhanced security—should inform your choice.
Before moving forward, ensure you have full access to all necessary credentials for both the current and new hosting accounts. It’s crucial to gather information such as login details, server paths, and database access credentials for a smooth transition. As an important precaution, always back up your entire website before beginning the migration process.
Backing Up Your WordPress Site
The first and most pivotal task in the migration process is creating a comprehensive backup of your existing WordPress site. This backup acts as a safeguard, allowing you to restore the site in case the migration encounters unforeseen issues. There are multiple methods to back up a WordPress site, each varying in complexity and automation.
For those who prefer automation, plugins like UpdraftPlus and Duplicator offer user-friendly interfaces to facilitate backup tasks. These plugins can schedule regular backups and store them in locations such as cloud services or external storage devices.
Alternatively, manual backups via FTP and phpMyAdmin provide greater control over the process. Using an FTP client, connect to your current host and download all site files, paying special attention to the wp-content directory, as it contains critical components like themes, plugins, and media uploads. For database backups, access phpMyAdmin and export the site’s database in SQL format. Securely storing these backups is essential for data integrity.
Transferring Files and Databases to the New Host
With backups secured, the migration proceeds to the transfer stage, where the backed-up files and database are moved to the new hosting environment. This involves uploading your site files to the new server and recreating the database.
Uploading Files to the New Host
Utilizing an FTP client, establish a connection to your new hosting account. Carefully upload the WordPress files previously downloaded to the desired directory on the new server, often the root directory, where the site should be accessible. Ensure all files, especially those in the wp-content directory, retain their original structure to avoid broken links or missing resources post-migration.
Database Import
Next, log in to the phpMyAdmin interface of your new hosting provider. Create a new database that mirrors the details of your previous setup. This includes the database name, user, and permissions. Navigate to the import tab in phpMyAdmin and upload your SQL backup file. This process reinstates your site’s data structure and content on the new host, setting the stage for further configuration.
Reconfiguring WordPress for the New Host
Following the successful transfer of files and database, it is important to update WordPress configurations to ensure alignment with your new environment.
Updating wp-config.php
Access the wp-config.php file located in the WordPress root directory using an FTP client. This file contains critical site configuration information, including database connection settings. Modify the following lines to reflect the new host’s database credentials:
“`php
define(‘DB_NAME’, ‘new_database_name’);
define(‘DB_USER’, ‘new_database_user’);
define(‘DB_PASSWORD’, ‘new_database_password’);
define(‘DB_HOST’, ‘localhost’);
“`
Alter these settings with precise details from your new hosting account to establish a successful database connection.
Testing the Migrated Site
With the configuration updated, comprehensive testing of the migrated site is necessary. Load each page to confirm that content is displaying correctly and links function as intended. Testing should validate that the database connections are robust and all functionalities, such as forms and interactive elements, operate seamlessly.
Additionally, inspect for broken links, images that may have failed to load, or plugin incompatibilities. Utilizing online tools like SEO Optimer or GTmetrix can assist in evaluating site performance and identifying areas for optimization.
Updating Domain Name Servers (DNS)
The final operational step is to update your domain’s DNS settings. Direct them to the new host’s servers to reroute traffic appropriately. This is typically managed through the domain registrar’s control panel, adhering to their specific procedures for DNS alteration.
Be aware that DNS propagation may take anywhere from a few hours to 48 hours, during which your website might still route to the old server intermittently. Continuous monitoring and prompt resolution of any post-migration discrepancies are vital during this period.
Upon successful DNS update and propagation, your WordPress site will be live on the new host. Continue to monitor its performance and swiftly address any emerging issues to maintain a smooth user experience.